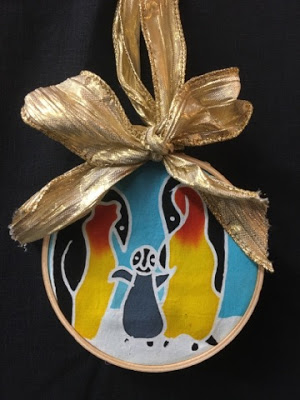
Mini-Embroidery Hoop Ornaments
Now that Thanksgiving has passed, I’m ready to put up my tree and decorate for the holidays.
I love ornaments that tell you something about the person that hung them – be it action figures, or hockey figurines.
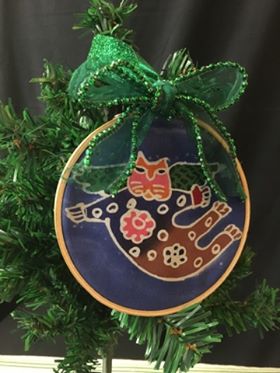
I found the perfect DIY ornament for craft lovers everywhere: Mini-Embroidery Hoop Ornaments.
It’s very easy and the finished ornament is so quaint!
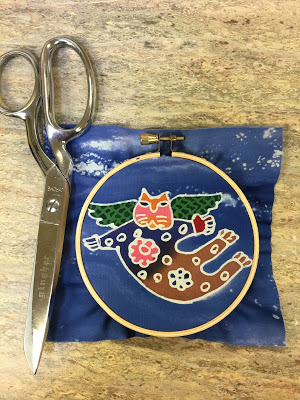
All you need to make your own ornaments are some mini-embroidery hoops (I used four inch hoops),
your favorite Mini Batik Painting or fabric, and some twine, raffia, yarn, or ribbon.
There’s plenty of room for your own creativity!
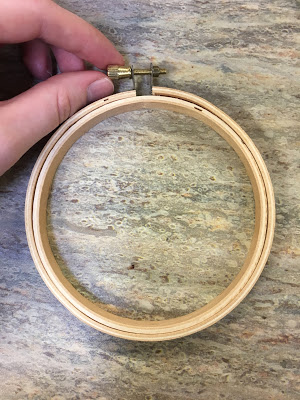
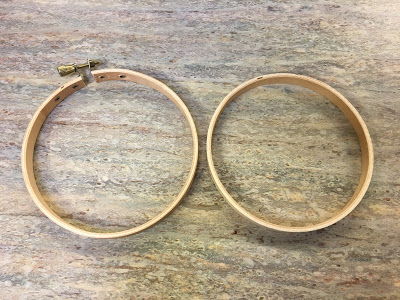
1- Start by loosening the hoop by twisting the screw at the top and then separate the inner hoop from the outer hoop.
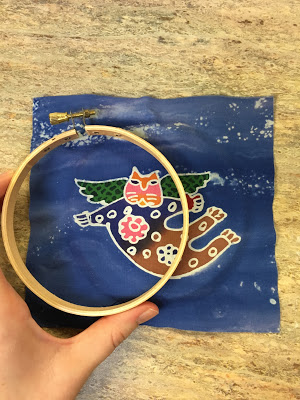
2- Center the piece of fabric you’re using over the inner hoop.
The size does not really matter at this point, so long as the image you want to display fits within the hoop.
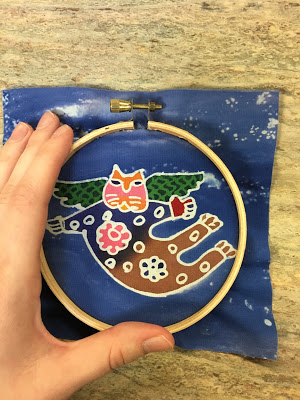
3- Place the outer hoop over the fabric and inner hoop, but don’t press down just yet!
Use the outer hoop to determine if the fabric is centered how you’d like.
Press down when you’re satisfied with the way that your image is centered in the hoops.
Make sure the fabric is taut by pulling the corners before you tighten the screw.
4- Tighten the screw at the top and then trim the excess fabric from the edges.
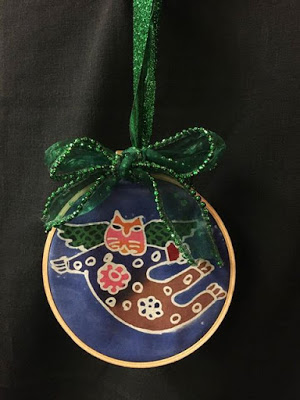
5- Tie some ribbon around the top and secure it to your tree!
You could also tie ribbon around the circumference of the embroidery hoop using some hot glue.
If you want, you could even embellish your ornaments!
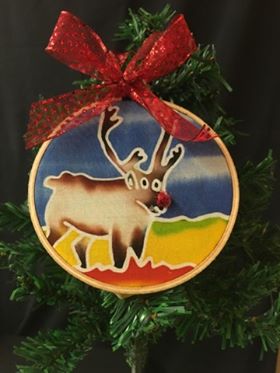
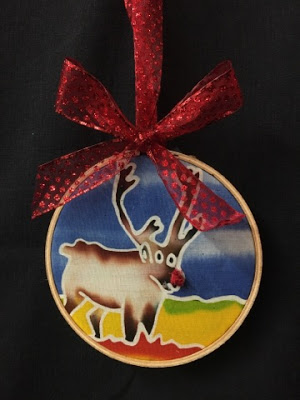
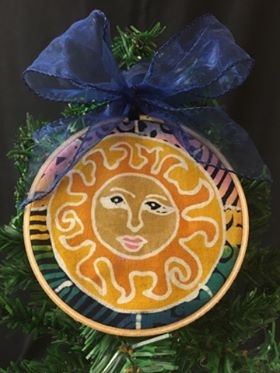
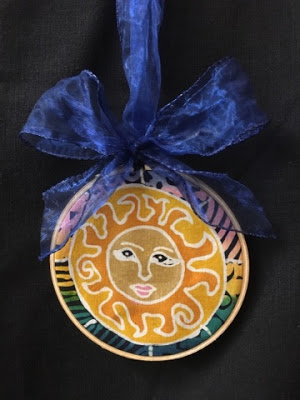
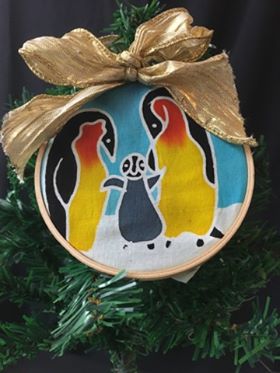
Here are some more that I made using my Mini Batik Paintings:
“Reindeer”
Okay… so this one is actually an elk that I added a red fabric nose to…
Happy Crafting!
